


let's be social!
When we very first started the full-on Charlotte Mason Method in our homeschool, there were a handful of subjects that were super intimidating. Clay modeling was one of those subjects. But as we’ve done it more and more, I have really fallen in love with this sometimes messy, sometimes challenging, always fun subject. So today I wanted to give you another post in the series, A Peek Inside Our Homeschool.
When I look back on why clay modeling was so intimidating to me, I think it was for a few different reasons. First, I have very little experience with clay modeling or sculpture of any kind. Other than a few projects in elementary school, I haven’t really messed with modeling clay. And I’ve certainly never taught it! Second, all of the recommendations I’d seen were to buy or build a board with an armature (and, in fact, our clay modeling book recommends it, too). My husband has a LOT on his plate, however, and it’s been something that just keeps getting pushed to the back burner. Finally, it’s a messy handicraft that requires a good deal of set up and clean up. There were a lot of days when it just felt like too much work.
BUT I know it’s important, or Charlotte Mason wouldn’t have included it in her programs.
So this school year, I set out to be super intentional about doing one clay modeling lesson per week. And thankfully, it’s really only meant to be done for one term per year. Could I manage 11-12 clay modeling lessons this year? Yes, that’s not too much to ask!
And it turns out that clay modeling is a blast! I have just as much fun as the kids do with our weekly projects. Some of them have turned out better than others, of course, but they’ve all been really good for us to try. And I’ve noticed that not only is it a great form of artistic expression, but it also forces us to really be observant and notice details on each subject. That’s a skill that will transfer to a number of subjects, but is especially useful during nature study.
So how do we do clay modeling in our homeschool? I’ll show you!
A PEEK INSIDE OUR HOMESCHOOL: CLAY MODELING
A FEW GUIDING PRINCIPLES FOR CLAY MODELING
Clay modeling falls under the handicraft umbrella in a Charlotte Mason education, and Miss Mason was pretty clear about what she expected from students in handicrafts. In Volume 1, she said,
The points to be borne in mind in children’s handicrafts are: (a.) that they should not be employed in making futilities such as pea and stick work, paper mats, and the like; (b.) that they should be taught slowly and carefully what they are to do; (c.) that slipshod work should not be allowed; (d.) and that, therefore, the children’s work should be kept well within their compass.”
CHARLOTTE MASON, HOME EDUCATION, P. 316
So with those in mind, we do clay modeling slowly, carefully, and with as much attention to detail as we can give.
THE SUPPLIES WE USE
Surprisingly, clay modeling doesn’t actually require that many supplies. When I think about how it compares to something like brush drawing or sewing, it’s about the same. The only issue is that it’s a bit messy, but with practice all three of my kids have learned how to keep the mess contained and how to clean up when we’re finished.
So here are the supplies we are using this year for clay modeling:
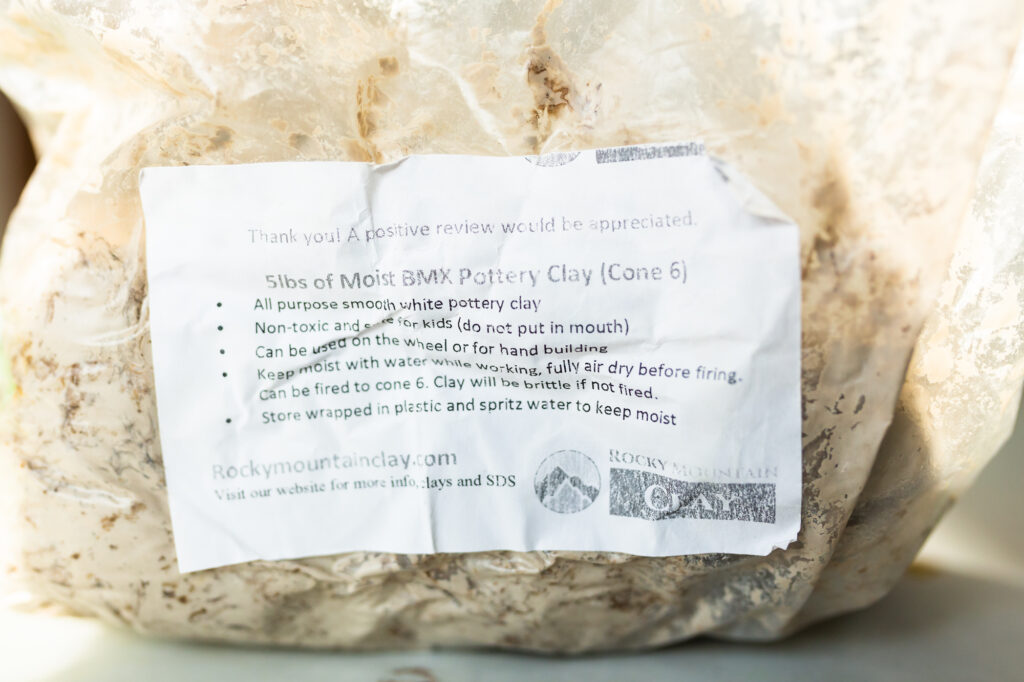
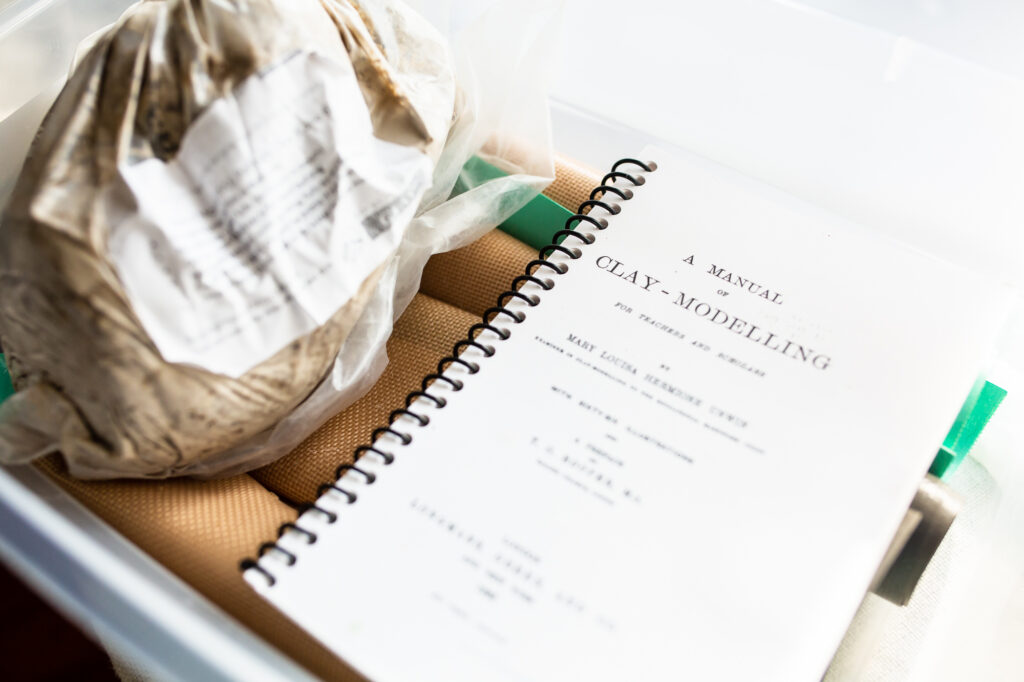
Pottery Clay (we’ve not had any trouble storing this long-term)
Silicone Baking Mats (we’re using these instead of a board with an armature for now)
Modeling Tools
A Manual of Clay Modeling by Unwin (get it free HERE)
Art Jars (these are just old jelly jars that I’ve designated for brush drawing and clay modeling water)
THE FORMAT OF OUR LESSONS
SET UP SUPPLIES & MATERIALS
So far, we’ve done 6 weeks of clay modeling, so we’ve got a good system for setting it up quickly. Mr. Eight gets our water jars, Mr. Six lays out the mats for each of us, and I get everyone’s clay and the object we’ll be modeling.
I would also recommend either some type of aprons for each person or an oversized t-shirt the kids can wear over their clothes. I haven’t actually gotten either of these yet, so we’ve had a few messes on shirts that were kind of hard to get out.

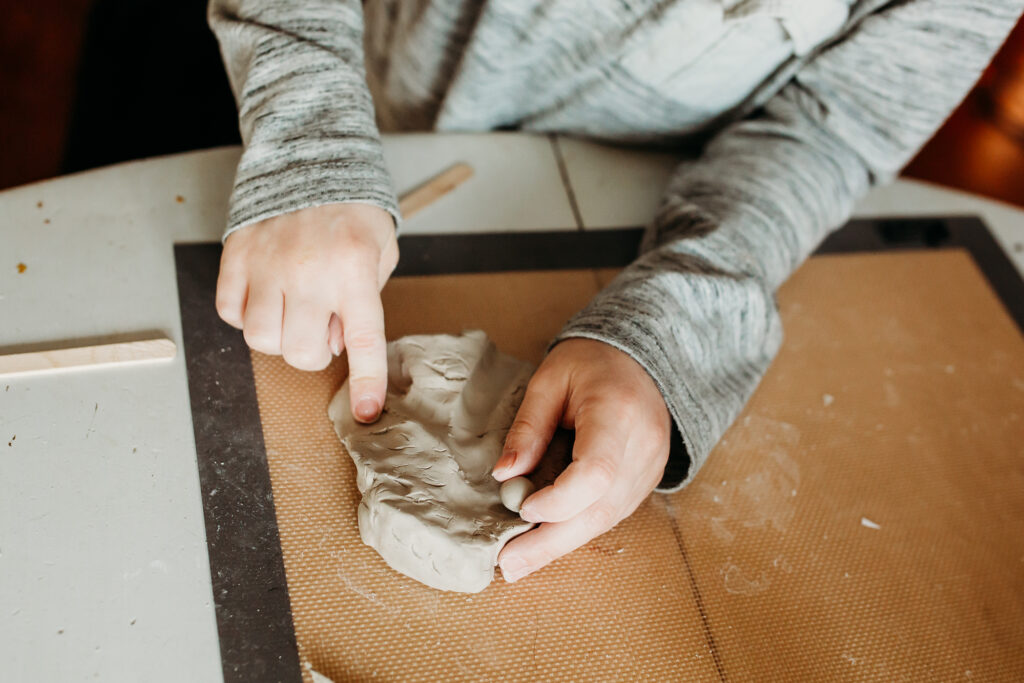
CAREFULLY OBSERVE THE OBJECT WE’RE MODELING
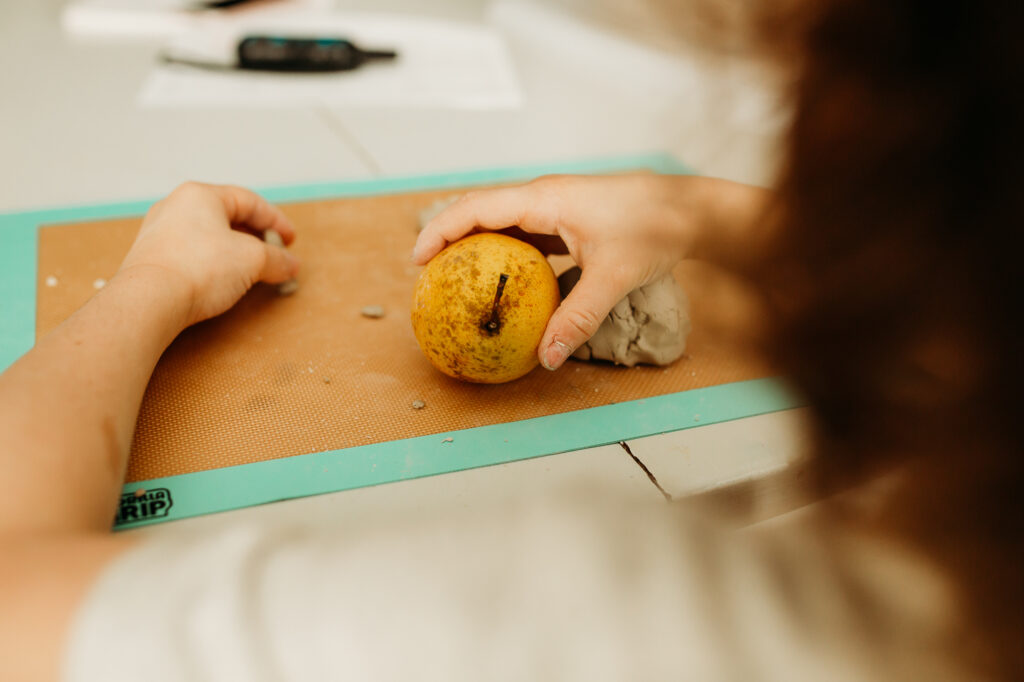
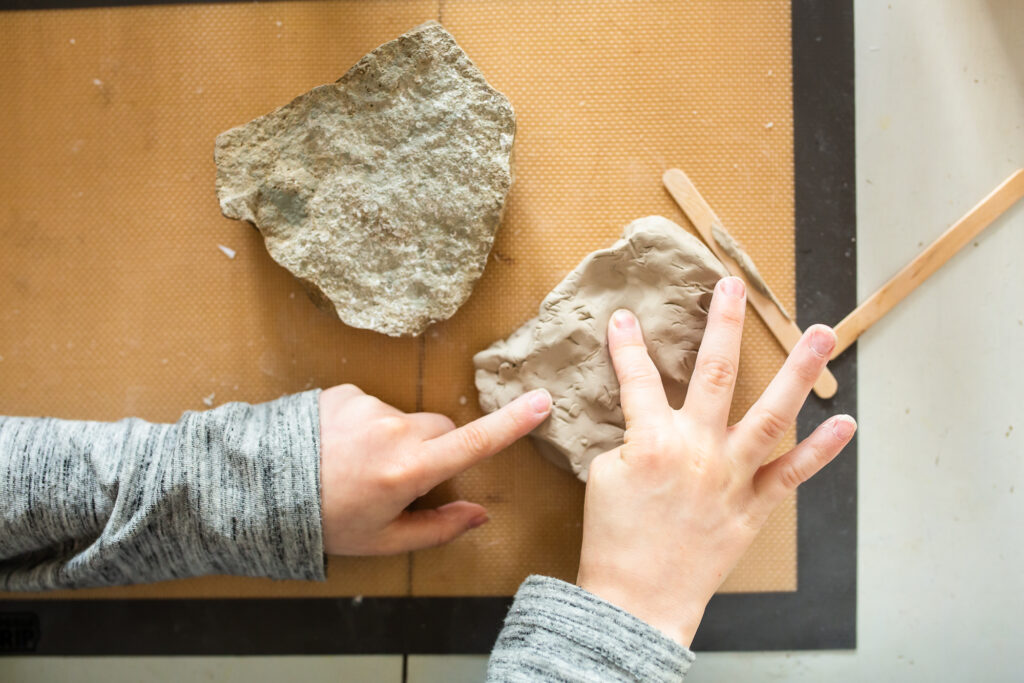
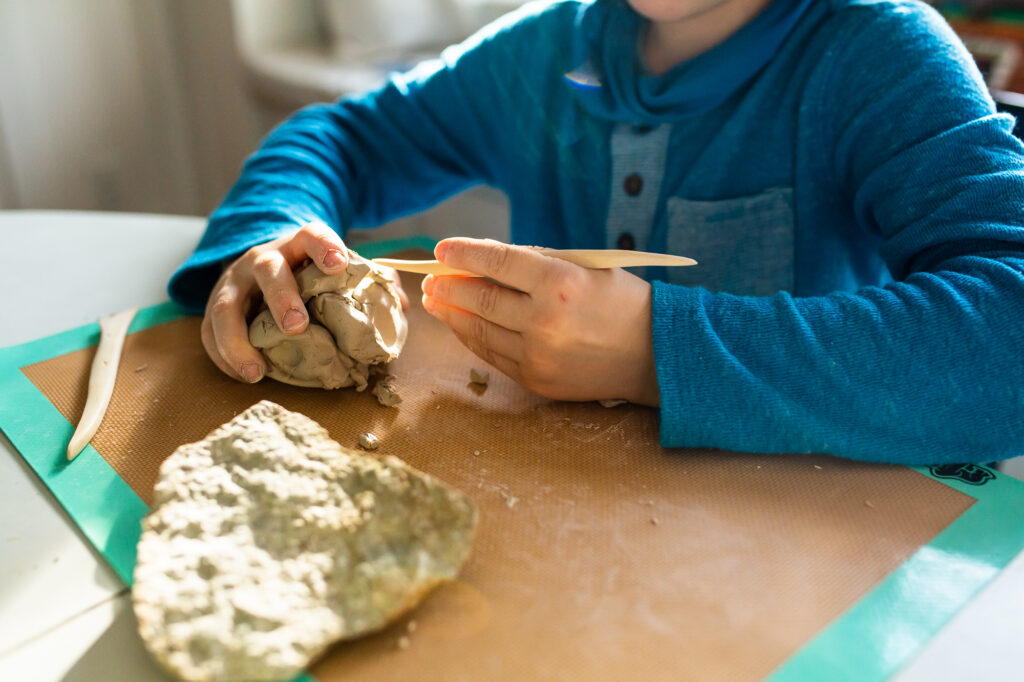
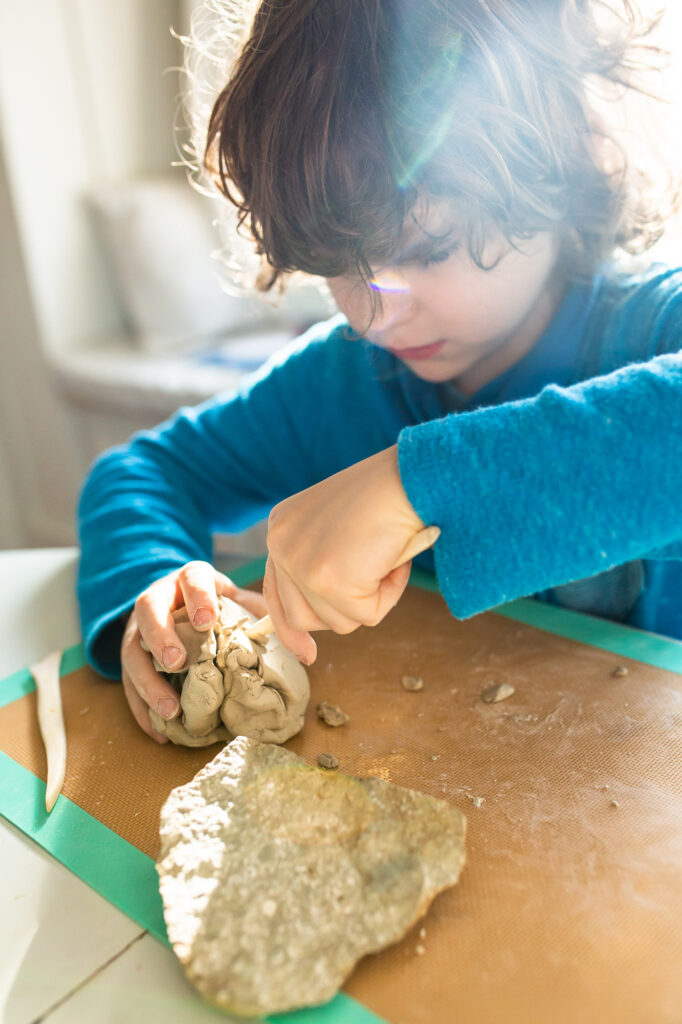
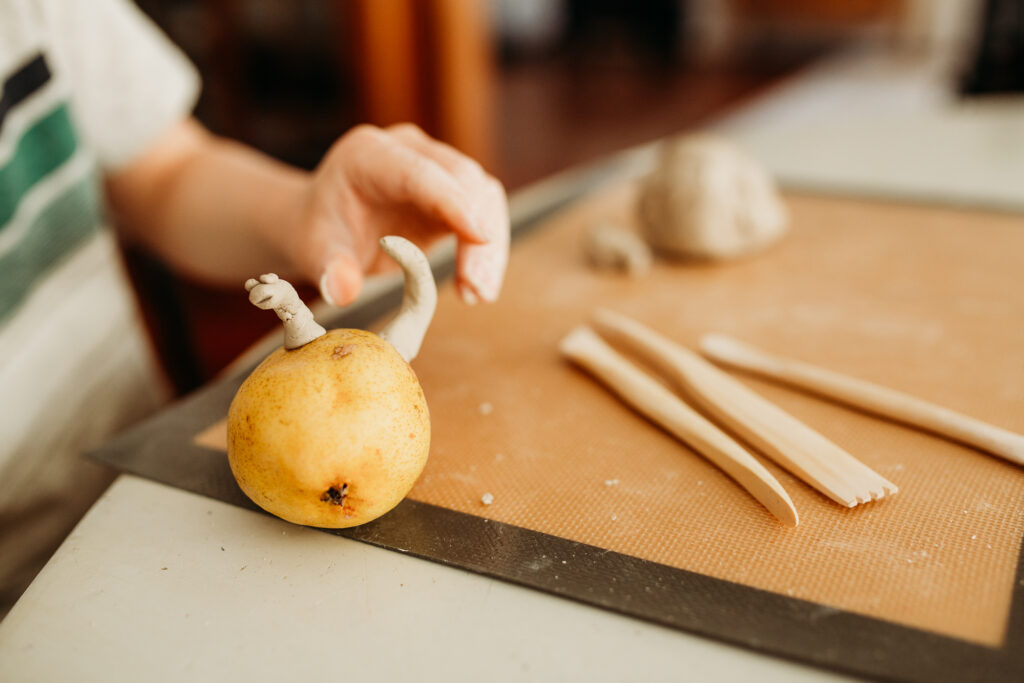
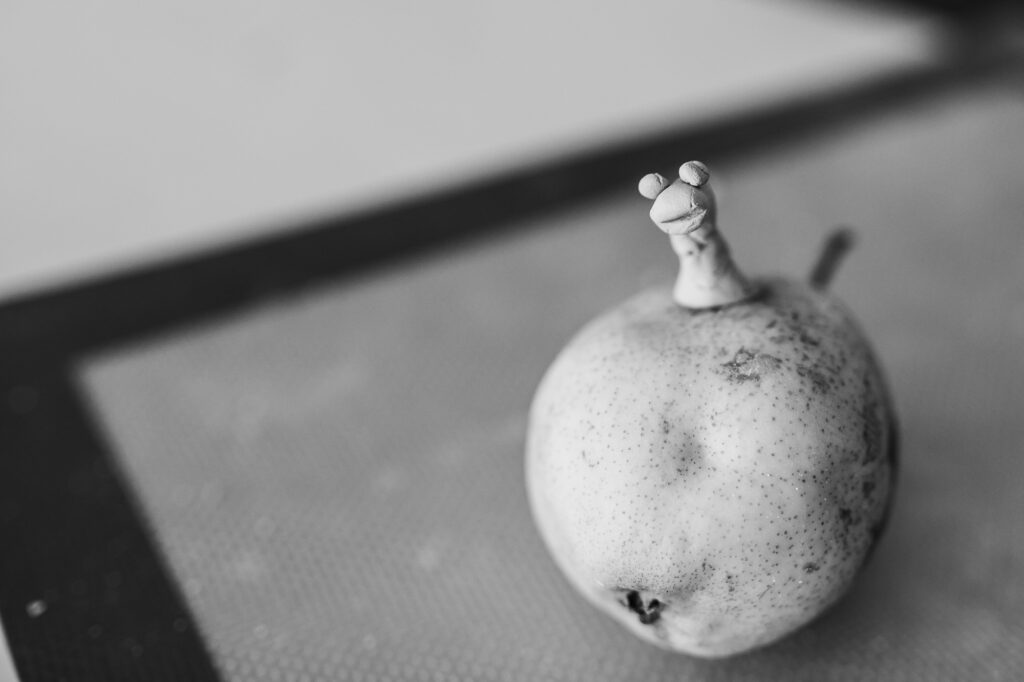
Depending on what the lesson is, I either get everyone their own object or we all just use the same one. For example, when we made apples, each person had their own apple to look at. It was fun, because everyone’s final products looked different. But right before Christmas Break, we only had one chunk of rock that was a good size to model, so we all just shared.
It’s important that each person has plenty of time with the object. You want to hold it, turn it over in your hands, feel the surface and texture, and really get a close-up look at its unique features.
Interestingly, one of the challenges my kids have had is making their models based on the actual object in front of them and not what they think it should like like. Sometimes I’ll need to ask questions to help them notice details, like, “Is your apple perfectly symmetrical or does it have a bit of an unusual shape? What is the texture of the acorn like? How do you think you might add that same texture on your clay?”
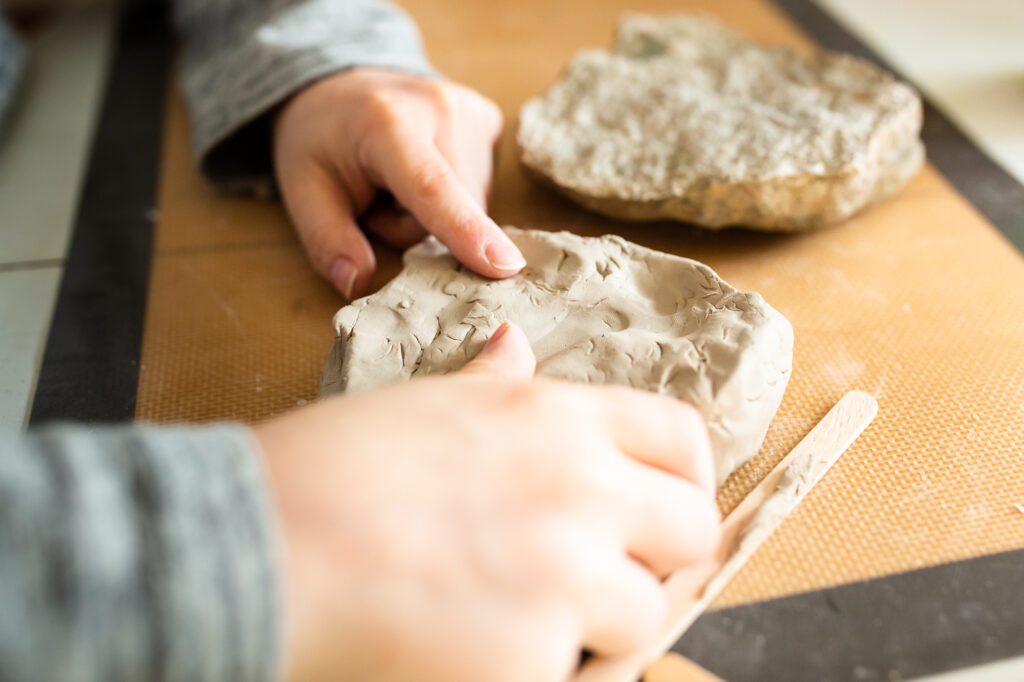
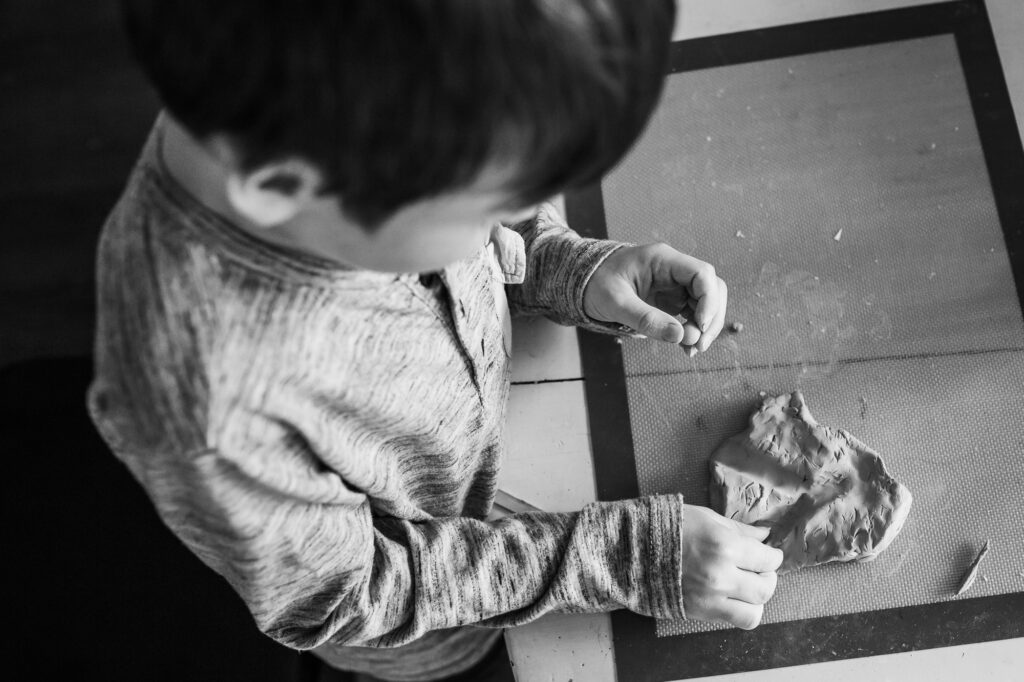
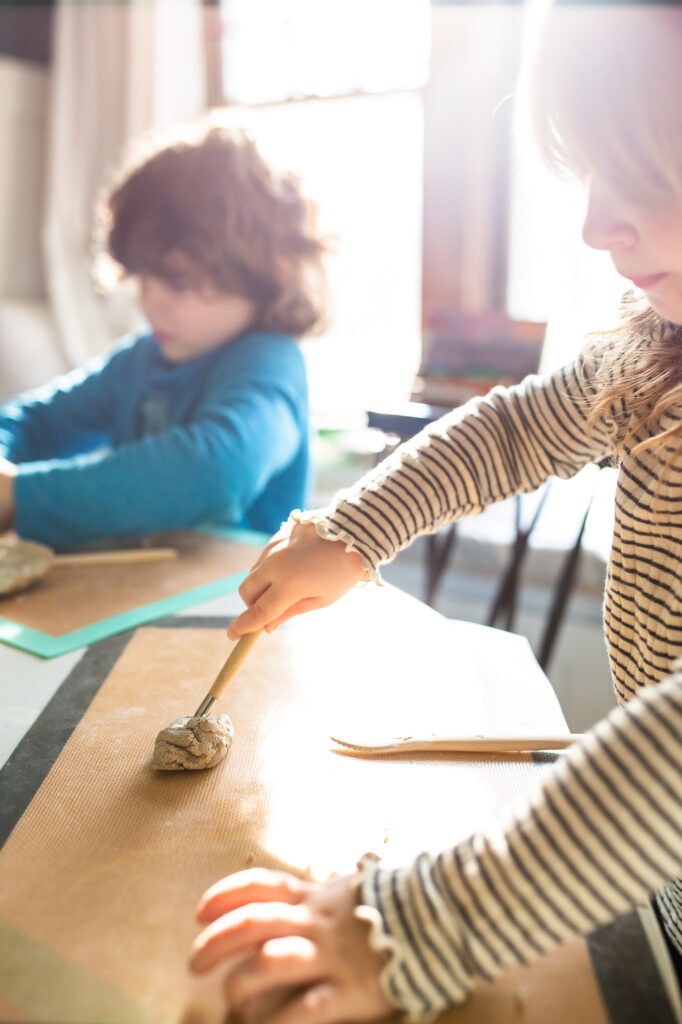
WORK THE CLAY INTO SHAPE
This handicraft lesson is only meant to take 20 minutes. Sometimes we finish early, but most often, the kids need a bit more time. And I’m not too concerned with the clock when we do these lessons, because I want them to really get into it and add all of the details possible to their models.
I always do my own modeling while they’re working. I’m obviously looking at theirs to see how they’re doing, but we all work alongside each other. It’s helpful because I can give them tips and pointers along the way. It’s also really good for them to see me learn, too. I don’t really have much more clay modeling experience than they do, so we’re all figuring out how to make the clay do what we want together. It’s also good for them to see that I’m not perfect and that it takes lots of practice to get really good at something.
Since I do the modeling with them, I narrate what I’m doing as I work. That helps them to learn my process and mimic it.
LIGHT CRITIQUE OF OUR CLAY MODELS
This is something I started doing after the first few weeks, so we haven’t done it a lot yet. But in art classes, there’s often a chance for the professors and fellow students to critique your work. It’s a bit unnerving to have someone give you constructive criticism, but it really grows you as an artist (I’m part of a photography community that does this, and it has helped me grow as a photographer so much!).
So in our homeschool, we’ve started giving gentle, informal critiques of each other’s models. It’s not a big deal or a lengthy process, but we just look at each other’s work and use the “feedback sandwich.” We say what we really like about it, then we tell them something they can improve using positive language (like, “I might have added a bit more texture here,” or “I notice your model is a bit more symmetrical than the apple in front of you”), and then tell them another thing we really like about it.
This exercise has been really good for all of us. It teaches them how to give effective, constructive criticism (versus just criticism), which is a necessary skill in life. And it teaches them how to receive it, which is harder but equally important. And they’ve grown a lot in the short time of doing this. My oldest would get a bit defensive at first, even with the most gentle feedback (maybe it’s a firstborn problem, because I feel it, too). But he’s already learning to consider the feedback and accept it, which is awesome!

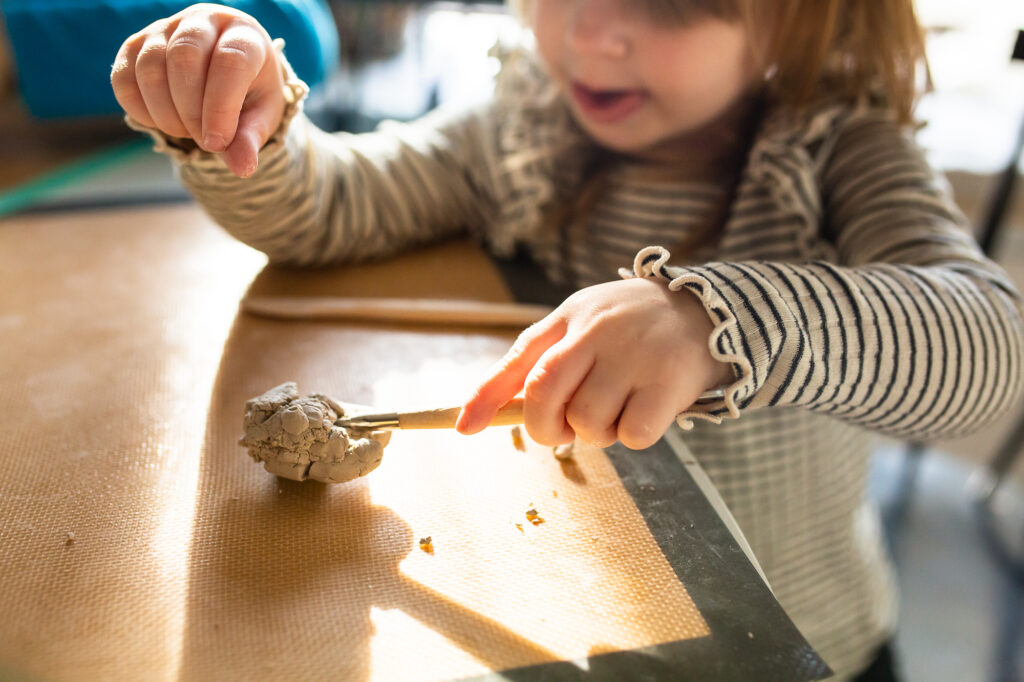
PLAY WITH THE CLAY
If we have time, I like to give the kids a bit of time to just play around with the clay once we’re finished with our actual models. They really enjoy being creative and modeling things right out of their imagination. One week, Mr. Eight decided to turn his broken rock into a marble run. He shaped some tunnels into his clay and made a small clay marble.
We don’t have time to do this every week, but it’s always a lot of fun to see what they create when we do!
CLEAN UP
Obviously, this is our least favorite part of the whole process. But just like when we’re setting up, each of us jumps in and helps. I usually put all of their modeling clay back in the bag (we’ve only kept one model so far) while Mr. Eight dumps the water and Mr. Six wipes down and rolls up our mats. Then everyone washes their hands, and we’re done!
STORING OUR CLAY MODELING SUPPLIES
All of our supplies fit nicely inside a small tote, which makes storing them really easy. Since we don’t have the boards with armatures at this point, we don’t need much space. The tote fits inside a drawer, cabinet, or closet.
We just roll up the mats, put the tools back in their pouch, smoosh all of the clay back into its bag, and put it all in the tote.
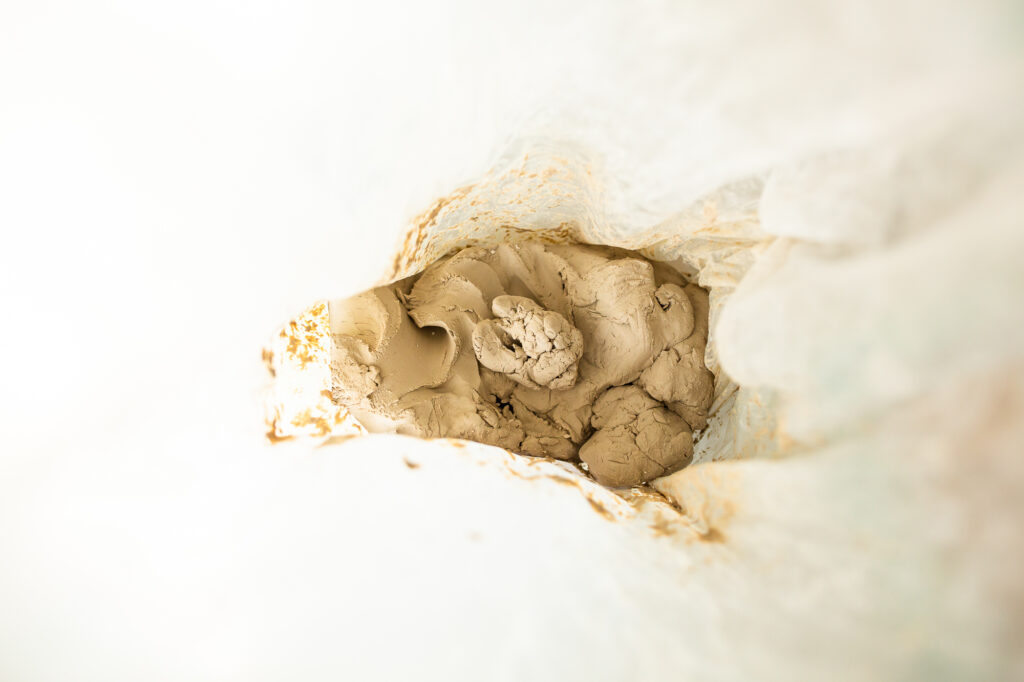
I don’t do anything special to store the clay, and it’s remained nice and fresh over the past year. I just put it in the original bag, squeeze as much air out as I can, and put it in the tote. I think the fact that we use a bit of water to smooth our models helps keep it moist, since we put the clay we’ve worked with back into the bag.
And that’s it!
I’d love to hear from you! Have you done any clay modeling in your homeschool?
And don’t forget to check out the other posts in this series:
A Peek Inside Our Homeschool: Our Daily Schedule

This is super helpful. I’m starting Form 1B with my son this fall and clay modeling was honestly a handicraft I put on the Do Not Attempt list. But because I’m convinced CM chose her curriculum with care and wisdom, I’ve still been thinking about an achievable, low-obstacle way to do it. If modeling without the board and armature works, at least to start, then I think I can take a deep breath and try it for a term. I know my son would love it. So thank you! This is giving me a little wind beneath my wings.
Yay! I’m glad this was helpful! Just like you, the board and armature was kind of an obstacle for me. I think we’ll need one eventually, but for for these early projects we’re getting along find without it. I hope you guys have a blast with it!